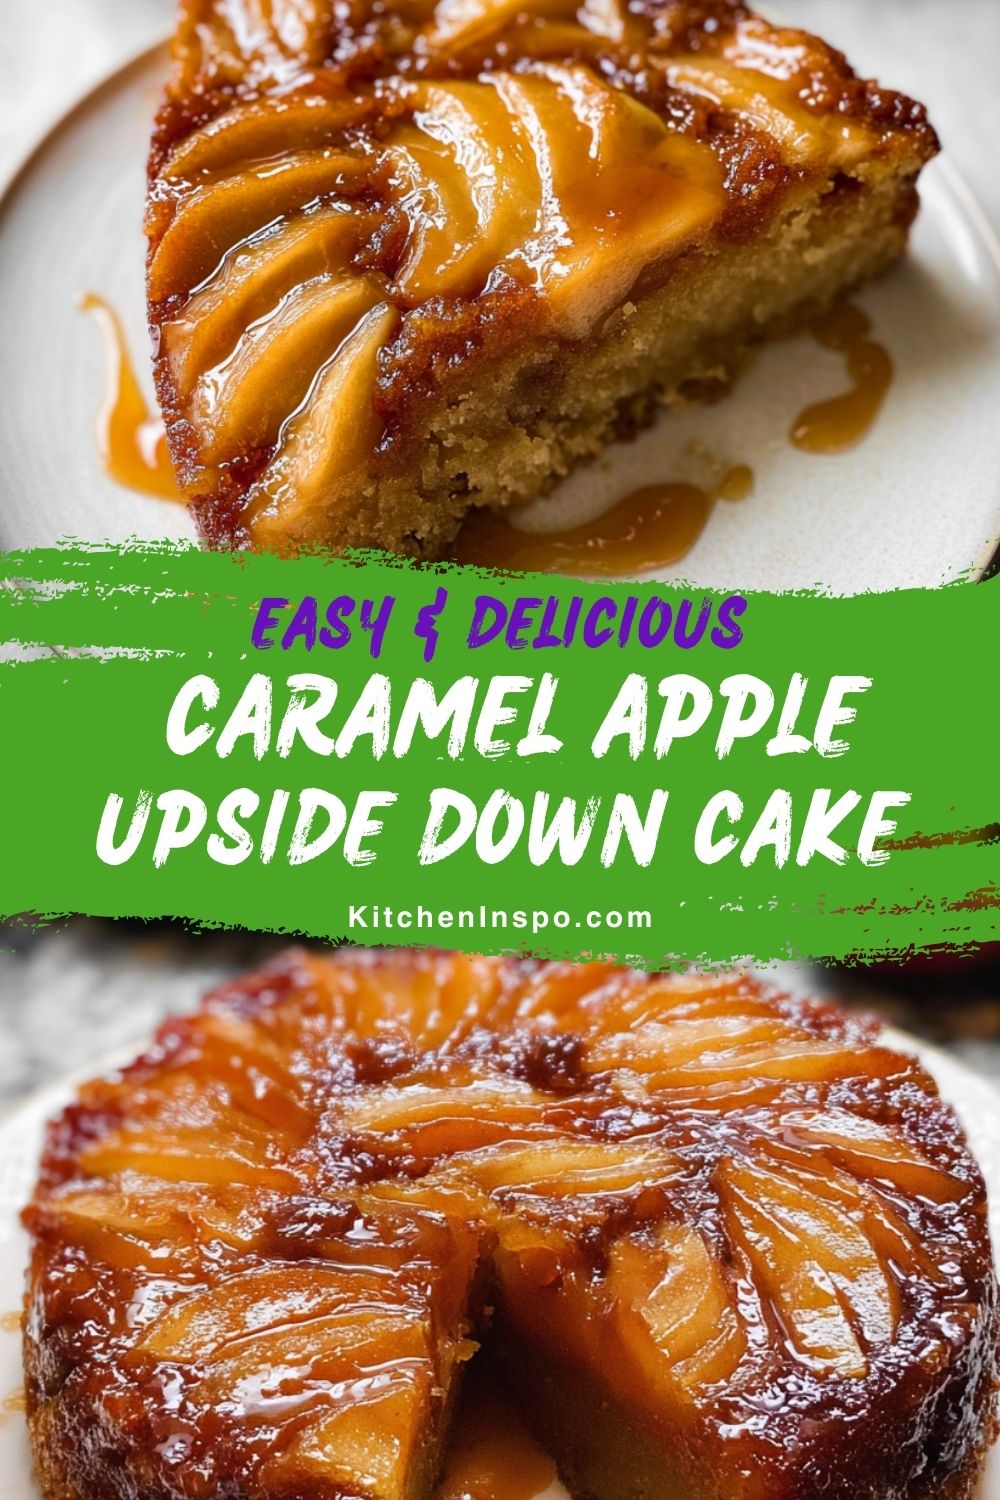
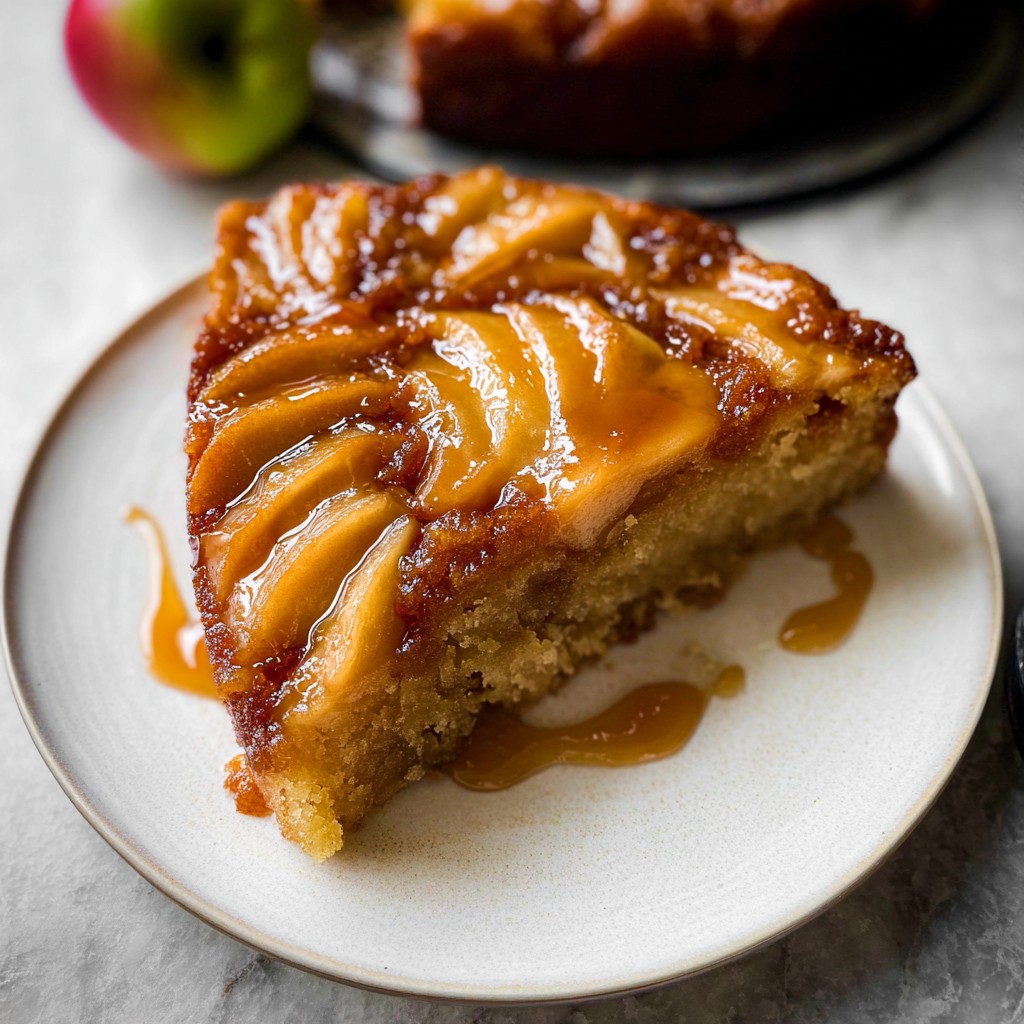
One minute I was rummaging through my spice cabinet; the next I was seduced by the idea of turning buttery cake and cinnamon-tossed apples into something special—enter the caramel-coated, fruit-topped cake of my dreams. My kitchen counter became a bit of a cozy disaster zone with melting caramel drips, flour clouds around the mixer, and a spoon that ended up working harder than any cookie cutter I own. There was that glorious moment when the caramel bubbled just right, and I lost count of how many times I checked the oven window. But when the cake flipped out with its glossy apple top and golden cake base, I felt like I’d just unlocked a hug in dessert form. This cake lets you lean into little quirks. My first attempt had a few apple slices that shifted into the caramel—and somehow that feels extra thoughtful. The cake cracked a bit on top where the apples were heavy, which I called its “signature crack.” You know, the one that says “I’m handmade with love.” And yes, I did lick a bit of caramel off my finger while it was still warm. Doesn’t mean spoons aren’t for sharing. The aprons always pick up cinnamon, and the floor gets sticky when reversed—they’re part of the celebration. Slicing into that first piece reveals soft crumb followed by buttery, caramelized apple. A neighbor knocked on the door mid-slice because the aroma was “unfair” to the hallway. So naturally I handed over a plate and told myself, “You’ve done good.” These cakes are forgiving. If the caramel runs over the edge, you get a little extra drizzle. If your apple slices aren’t symmetrical, everyone calls them charming. Want more caramel or a tart apple to balance the sweetness? Totally gorgeous. I added a hint of nutmeg one time, and it gave the cake a quiet warmth that lingered. Bake it, tip it out, let it rest just a tad so it sets into that amber crown, and then let the sticky edges be your very favorite bites. I’ll probably make this again tomorrow—maybe with pears or a sprinkle of sea salt—but I’ll always remember how that first slice cracked and a spoonful of caramel made it perfect.
Detailed Ingredients with measures
- ⅓ cup unsalted butter
- ½ cup packed light brown sugar
- 2 medium apples, peeled, cored, and sliced
- ½ cup (1 stick) unsalted butter, softened
- ½ cup granulated sugar
- 2 large eggs
- 1 teaspoon vanilla extract
- 1 cup all-purpose flour
- 1½ teaspoons baking powder
- ¼ teaspoon salt
- ½ teaspoon ground cinnamon
- ¼ cup milk
Prep Time
About 20 minutes—enough for buttering the pan, layering apples, and cleaning caramel off the whisk (part of life).
Cook Time, Total Time, Yield
Cook Time: 30 minutes until cake springs back and caramel bubbles at the edges. Total Time: Roughly 1 hour from sweet chaos to that perfect slice. Yield: Serves 8 pieces—or fewer if you’re just giving in to caramel cravings.
Detailed Directions and Instructions
Preheat and prep the pan
First things first—heat your oven to 350°F. Grab a 9-inch springform or deep cake pan, and resist the urge to grease the bottom—it helps the caramel topping stay where it belongs. Wrapping the outside in foil? That’s your secret to keeping things tidy during baking; caramel likes to bubble over and it’s better to catch it earlier.
Create the caramelized apple layer
In a small saucepan, melt butter with brown sugar until it thickens and takes on that golden sheen. Stir in a hit of vanilla and a touch of cinnamon for warmth. Pour this sticky mixture into your pan, then layer over peeled, thinly sliced apples—squeezing in as many as you can. It’ll look like fall sunshine trapped under sugar. Let it sit in the fridge for a few minutes while you make the cake—this helps everything stay put when the cake batter goes over.
Whisk the spiced batter
In a bowl, mix flour, baking powder, a dash of cinnamon, nutmeg, and a pinch of salt until it’s evenly blended and smells like early harvest. In another bowl, cream softened butter with both granulated and brown sugar until it’s light, then beat in the eggs one at a time, followed by vanilla. Switch to low speed and whisk in the dry mix alternated with milk until you have a silky, peachy-orange batter—gentle folds only, so the crumb stays tender.
Assemble and bake with care
Gently pour that batter over the apple layer and spread it into an even blanket. Pop the pan into the oven, and after about 20 minutes, tent with foil to prevent the top from browning too much while the center catches up. Bake until a toothpick comes out mostly clean—still a few crumbs are great. Expect juicy bubbles along the edges and a spiced aroma that warms the room.
Cool, invert, serve warm
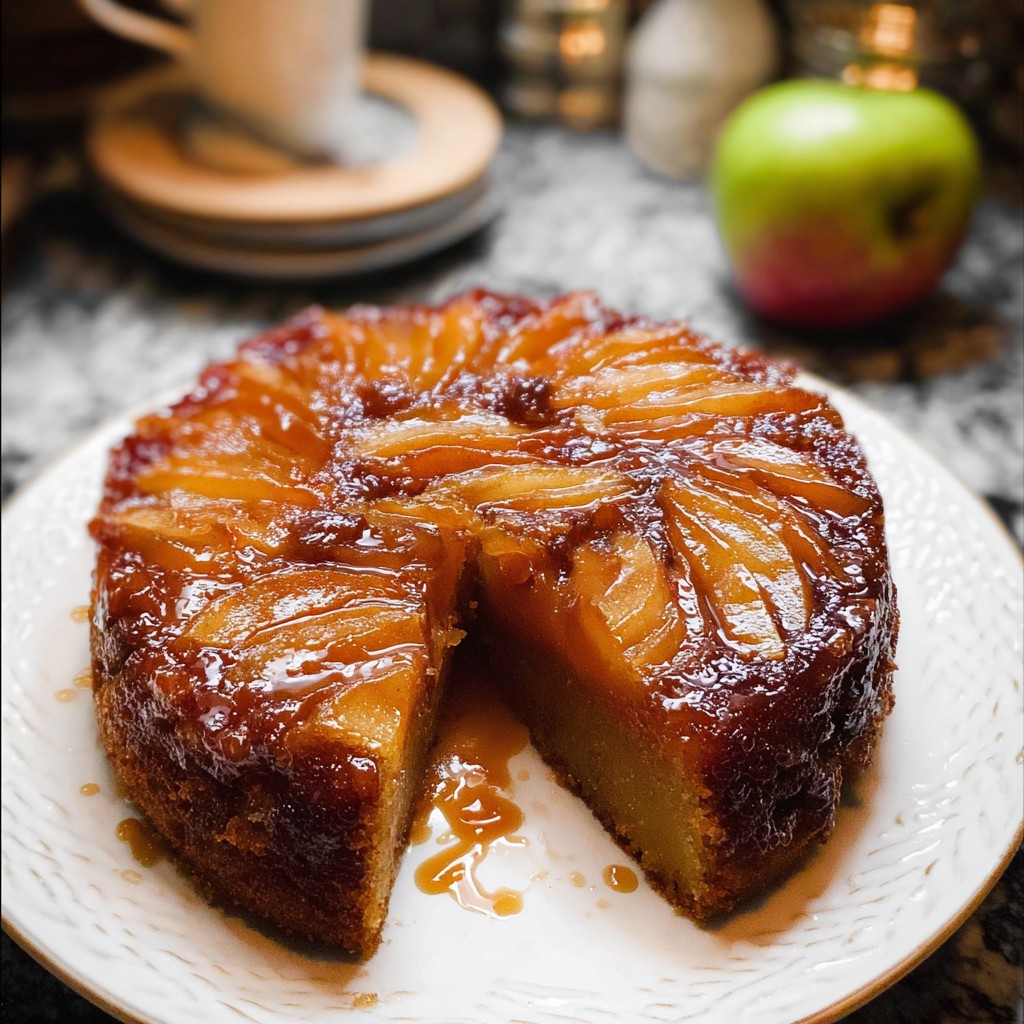
Let the cake rest on the rack for 15 minutes—this pause helps the caramel soak in, not run everywhere. Then carefully flip it onto a serving plate. That caramel-apple crown wants to stick a little; let it settle. Let it cool fully if you want neat slices, or just dive in warm if you’re not that patient.
Notes
Pan choice matters
Deep pans hold caramel better. A shallow one and you’ll have edge caramel forever etched in your oven—not ideal.
Apple slices, not chunks
Thin, even slices layer beautifully and release juice evenly. Chunks risk sliding off—or your cake split personality.
Don’t overbeat the batter
Stir until just combined. Overmixing creates tight crumbs—not what we’re after in a tender cozy cake.
Foil is your friend
Tent halfway through to prevent tops that look toasted before the inside’s ready. Balance is everything.
Leftover caramel isn’t an accident
If some drips pool on the serving plate during flipping, spoon them back on top. Extra is just fine.
Cook techniques
Use good mix of apple slices, not chunks
I always peel and slice apples about ¼ inch thick—thin enough to arrange neatly, thick enough to not vanish during baking. The first time I tossed in chunky pieces, they sank and shifted during the flip, leaving gaps. Lining up slices gives that sharp, inviting top that flips over with confidence.
Melt butter and brown sugar together first
Instead of dumping sugar into the pan, I melt butter and brown sugar together on the stovetop and whisk for about a minute until it thickens slightly. That extra minute gives the caramel flavour real depth instead of just “sweet sugar puddle.” Worth the tiny wait.
Chill the pan briefly before batter
Once apples are nestled in the buttery caramel, I pop the pan in the fridge for a few minutes while I whip up the cake batter. It helps set that sticky base so when the batter goes on, it doesn’t slip and the arrangement stays pretty through baking.
Cream butter and sugars to light and smooth
I start with room-temperature butter and beat it with granulated and brown sugar until it’s light and smooth—maybe even pale. Skip this fluff step and the cake comes out flat and dense. Once I just “mixed until combined” instead of creaming, and the texture paid the price.
Pour batter gently atop topping
Slow and steady: I spoon the batter over the chilled apple topping and spread it evenly. Once I poured instead of spooned, and a canyon formed down the middle. Gentle layering keeps everything in place, top to bottom.
Tent with foil mid-bake if browning too fast
About halfway through baking, I peek. If the top looks too dark while the center still needs time, I loosely tent foil to keep the top from burning. It protects while the middle finishes baking without turning the whole thing into a shade of charcoal.
Cool 15 minutes before flipping—then cool again
Here’s the tricky part: let it cool just enough to stop sloshing—about 15 minutes—and then invert onto a plate. Once flipped, I let it rest completely before slicing—still warm is messy and drippy, but too cold loses that buttery glaze. Waiting a bit hits that sweet spot.
Catch drips with a baking sheet below
I learned the hard way when caramel dripped into the bottom of my oven. Now I place the cake pan on a rimmed baking sheet before baking. That caramel sink saves my oven and gives me a catch-and-pour moment for extra sauce.
Store slices right-side-up, not inverted
Once cooled, I store slices upright in an airtight container—apple side up. Keeps the topping proud and intact. If stored inverted, that caramel gets soggy against the lid, and you lose that shiny crown.
FAQ
Why must I melt the butter and sugar first?
Melting and whisking for a minute thickens and deepens the topping’s flavor—otherwise you risk a flat syrup layer, not a proper caramel base.
Do I really need to chill the pan before pouring batter?
Yes—it helps the topping stay put. Skip chilling, and the batter can slide apple-side down into odd places.
What’s the point of tenting with foil?
To prevent over-browning. The cake middle often needs more time even when the top is already golden. Foil gives the center a chance without burning the edges.
How long to let it cool before flipping?
About 15 minutes. Long enough to set but still warm enough to release cleanly. Waiting longer helps it hold its shape when sliced.
Can I make this ahead of time?
You can prep the topping early, even refrigerate it in the pan (covered) up to a day ahead. Then add batter and bake when you’re ready. Avoid flipping too late, though—that topping will stick stubbornly.
How long does it keep?
Stored right-side-up in the fridge, slices stay great for three days. For longer, freeze wrapped well—then thaw and warm for that saucy finish.
Can I use different apples?
Absolutely. Firm, crisp varieties like Granny Smith, Fuji, or Honeycrisp hold up beautifully. Softer apples can get mushy and muddy the topping layer.
Conclusion
You’ve just baked Sally’s Buttery Caramel Apple Upside-Down Cake, and oh, what a treat it is. You start by melting butter and brown sugar on the stove until they bubble into a caramel whisper—not too thick—that gets flavored with cinnamon and vanilla, then pour it into your pan. I’ll admit, I once had that topping drip over the edge when I poured it in too fast—one quick scrape with a spatula and it still tasted fantastic (and looked kind of “rustic,” right?). Then you arrange neat overlapping apple slices over that caramel base, pop the pan in the fridge for a sec to let it set, and mix up the cake batter—flour, baking powder, cinnamon, nutmeg, salt—all whisked together. The creamed butter dances with granulated and brown sugar until fluffy; then eggs and vanilla find their way in, followed by flour and a drizzle of milk. I once scraped a bit of batter off my mixer onto the counter, and it stuck around like a stubborn crumb buddy—but cleaning it became a “taste test” mission, so that was totally fine. Once the batter meets the apples, the oven does its thing. You’ll hear a little whisper-crackle, and when you pull it out, those apple slices have sunk into a soft, golden cake like old friends reunited. That first slice? Warm caramel meets tender spice cake with apples doing a gentle, chewy dance. Leftovers? Just as good, especially after the flavors mingle overnight—top it with a scoop of ice cream or a swirl of whipped topping, and you’re in over-the-top-but-completely-sensible dessert territory. Expect your countertop to show caramel fingerprints, maybe a smudge or two on your apron, and a stray slice that lunged right into your mouth before serving. That’s kitchen character, that is.
More recipes suggestions and combination
Individual Caramel Apple Upside-Down Cakelets
Same idea, but in muffin tins for single servings. I once filled them too full, and they overflowed into bubbly caramel volcanoes—spaghetti-like sugar strands everywhere—but those golden rims made brunch feel like a party.
Apple Cinnamon Layer Cake with Caramel Drizzle
Bake the cake as layers, then stack them with cinnamon-spiced whipped filling and drizzle caramel between. My caramel started dripping mid-slice, turning the plate into a waterfall of goo—but it looked like dessert art, so I called it modern decadence.
Caramel Apple Upside-Down Cake Parfaits
Dig out small glasses, layer pieces of cake, apple bits, and a dollop of cream—or even custard. I enthusiastically layered once and it collapsed into a sweet mess, but that swirl of crumbs and caramel made it extra fun to eat. Serve the classic cake when you’re craving comforting simplicity. Go mini when you want sweet, shareable bites. Layered cake is for when you need height and elegance. And parfaits? They’re casual, snackable, and perfect for letting everyone have a little fall in a glass. Expect drips, crumbs, maybe a cheek-smudge of caramel—but hey, that’s home baking at its most irresistible.